Tuesday, May 15, 2012

Baskets

I have been working on my basket weaving skills lately. Volunteered to weave a basket for a silent auction item. It has been awhile since I have made a larger basket. Didn't turn out perfect, but was still fun to make (and those in my book club were impressed.)


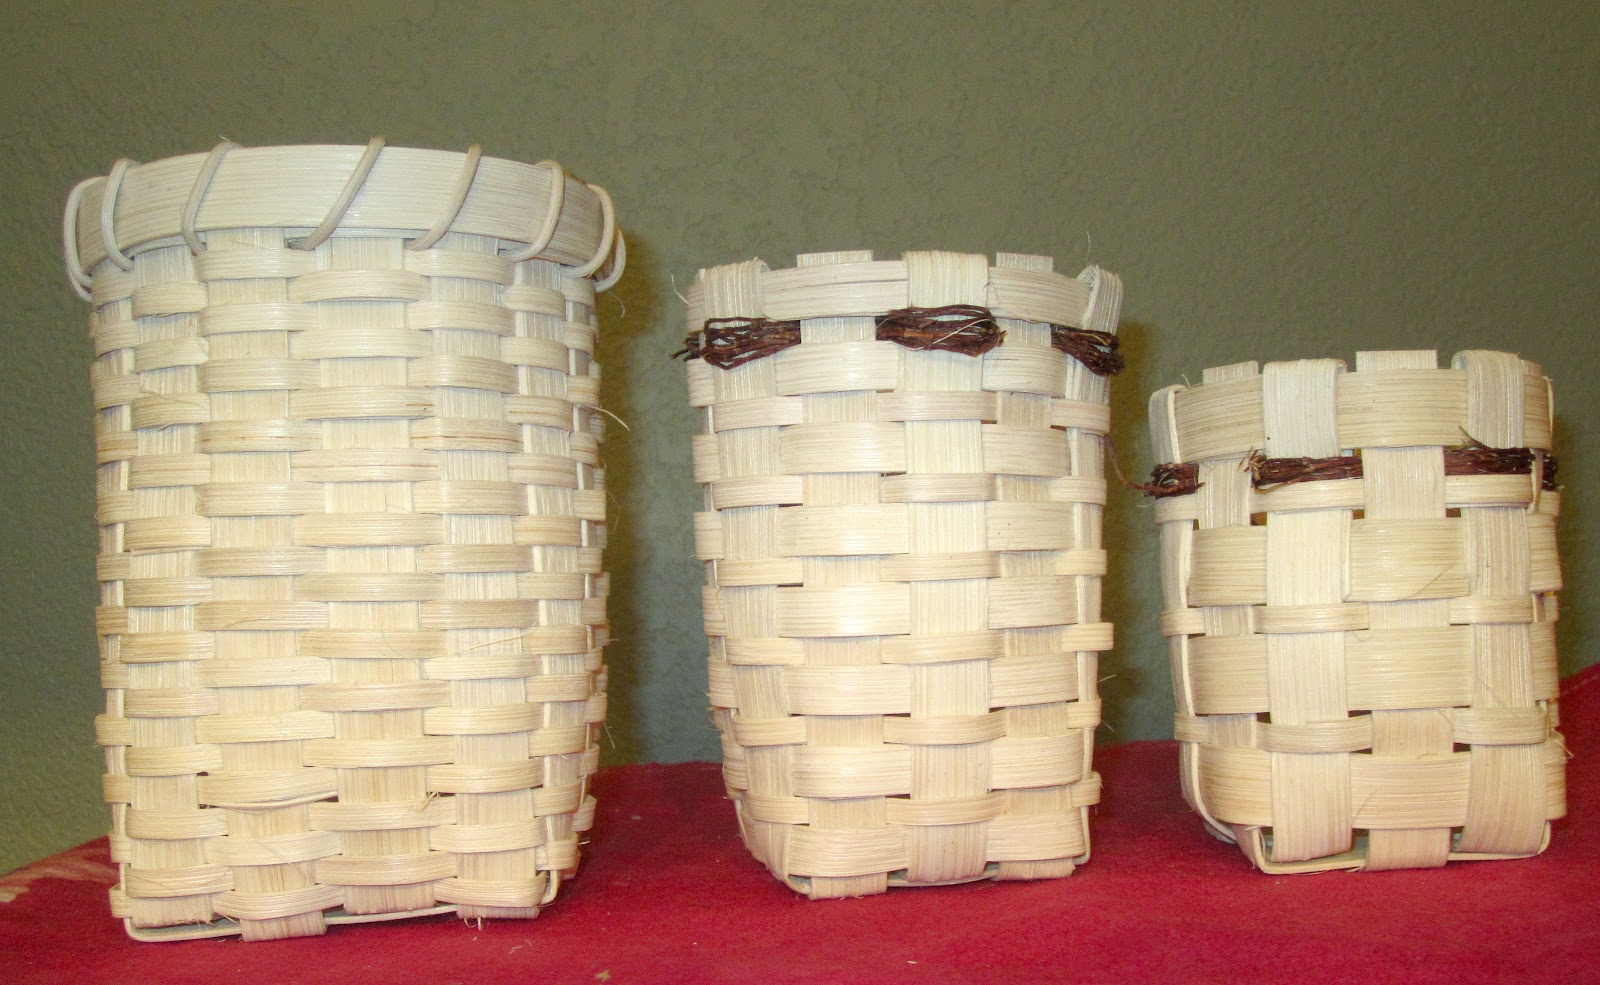
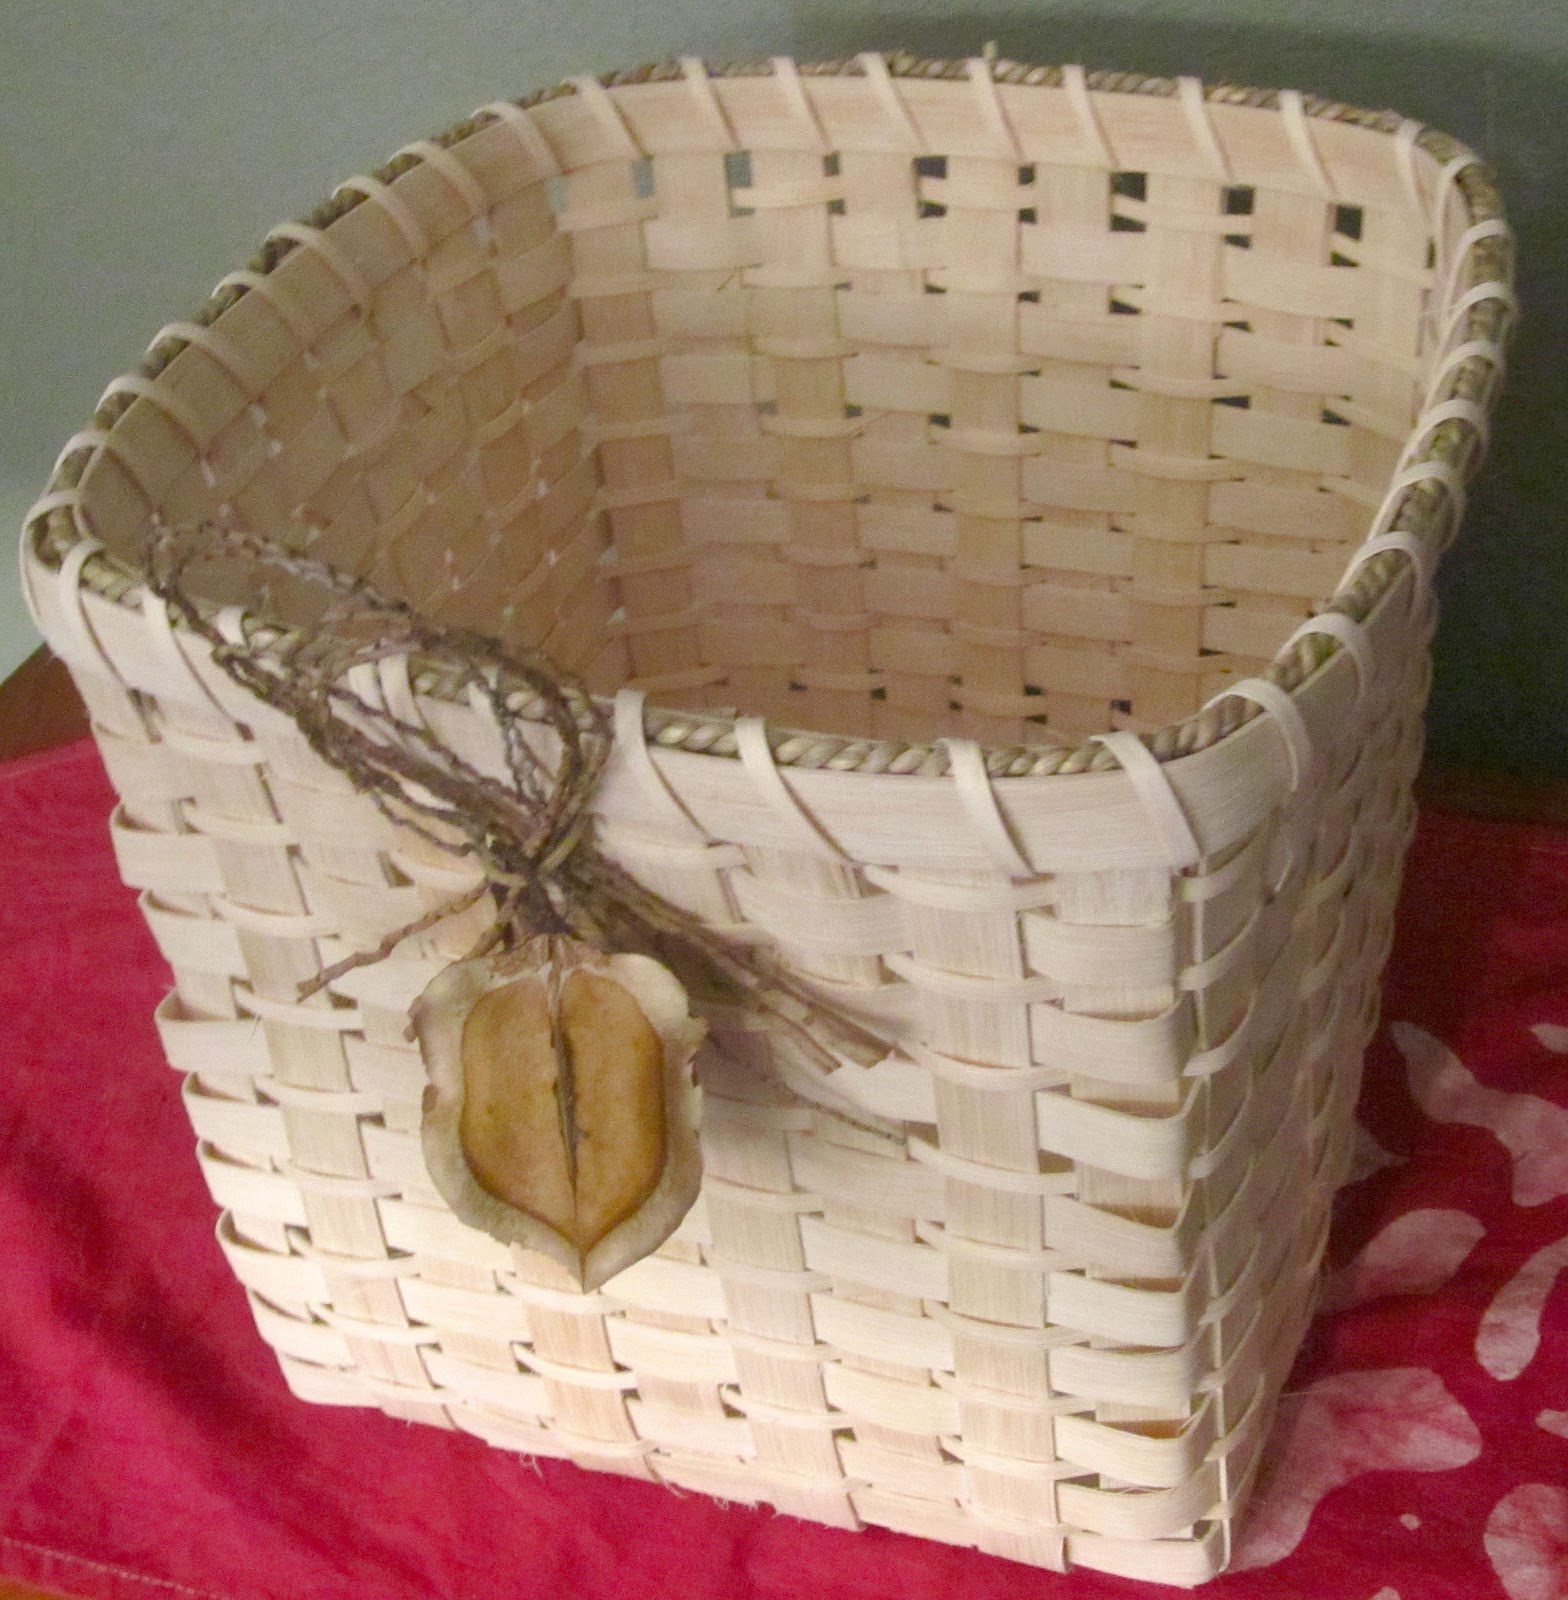
I also have been using up some scrapes that have accumulated. The result is a few smaller baskets (all different patterns and sizes.) I recently purchased some different materials too. The accent in the large basket above and the maroon row in the ones below. The maroon material is ficus root. Is a bit delicate but still fun to work with some new materials.


Wednesday, May 9, 2012

Polymer Cool Neck Bands

A project to do to utilize some of the scrape pieces of fabric I have and also to help those who serve through Operation Gratitude. 

How to Make Cool Ties or Bandanas

Each pound of MEDIUM size polymer contains about 115 teaspoons of crystals, which will make at least 50 bandanas at 2 teaspoons per tie.

There are several ways to make Cool Ties.  Cotton fabric will work best, as it has superior wicking properties.  Let your imagination be your guide.  One method is to take an ordinary bandana and make a Cool Tie  by simply folding over the wide edge about an inch or an inch and a half and stitching the “hem” down to create a tube.   Complete the bandanas as with the following instructions for the ties:
grnpushpin.gif (1016 bytes)
Scissors
grnpushpin.gif (1016 bytes)
Tape measure
grnpushpin.gif (1016 bytes)
Serger/sewing machine
grnpushpin.gif (1016 bytes)
4" strip of fabric 45" long (actual length will depend on personal preference)
grnpushpin.gif (1016 bytes)
One Tablespoon of medium Watersorb polymer granules.  order page
DIRECTIONS
  1. Cut one strip of fabric 4" wide from a fabric that is at least 45" wide.   If you want to have a bow to tie use a 60" wide fabric.
  2. Fold the fabric strip in half lengthwise (the piece should be 4" by 22 1/2").   Mark the fold.  This is the center back of the neck band.  Open up the fabric and measure and mark 7" on each side of the center back.
wpe1.gif (9736 bytes)
 
Fold the fabric right sides together the width of the strip (the piece should now be 2" by 45".)  Using a 5/8" seam, stitch between the marks.  (There should be 14" stitched--7" on either side of center back.)
wpe2.gif (4068 bytes)
  1. The tail ends may be rounded or slanted to give a more finished look.  Finish the edges and ends of the rest of the band by serging or turning and stitching.  Press.
wpe3.gif (4363 bytes)
  1. Turn tube right side out and press. At one end of the tube, stitch to close, then double stitch for strength. At this point you should have one end of the tube open.
wpe4.gif (6845 bytes)
5.      Carefully pour the polymer granules into the tube (1-3 teaspoons). Stitch the tube closed. Reinforce with another row of stitching.
wpe5.gif (6199 bytes)
  1. To use the cool neck band, soak in   water for a 15-20 minutes (hot water speeds the hydration process).  As the polymer granules soak up the water "mush" them around so the polymer spreads out equally along the tube.  Tie around your neck for a "Cool Band."  
TIPS
  • The polymer granules are used in gardening soil for water retention. (Use Watersorb Medium 1-3 tsp) Each pound of polymer has about 115 tsp.
  • The cool band can be refrigerated so it is more refreshing on a hot day.
  •  It can be soaked in cold water and used over and over.  
  • If too many polymer granules are used in the tube, the polymer will ooze through the fabric tube.  Generally two teaspoons is all that is needed.
 .... ·         Store in a zip lock bag in the refrigerator, or hang dry.   The polymer will rehydrate again using instructions in step 6.
Prepared by:  Joy Polk, Benton/Franklin Clothing and Textile Advisor, and Kay Hendrickson, Area Extension Agent, Washington State University Cooperative Extension.